In the mood for a deep, dark, and dense chocolaty dessert? SO AM I! Get your glasses of milk ready because this is 100% delicious and 100% Gluten Free. Yeah, that’s right. You have no more excuses on why you can’t enjoy dessert again.
The Story
Everyone knows someone who is Gluten Free. It’s not a fad or the new cool/hip thing to do, it’s a way of life for many. But sadly, a lot of dessert isn’t Gluten Free, since most desserts need several cups of flour.
That’s the beauty of the torte.
Tortes are one layer, very dense cakes. And typically, they have very little flour to begin with. This makes them relatively easy to substitute out the flour for something like almond meal. Plus, they are absolutely delicious and stunning to serve.
It should come as no surprise that I’ve made this several times for dinner with friends. Let me know how often you make it for your friends. And if you’re Gluten Free, and craving dessert, indulge.
Ingredients
The Torte
½ cup whole hazelnuts (plus 12 for decoration)
1 cup semi-sweet chocolate chips (about 6 oz)
½ cup salted butter, room temperature
2/3 cup, plus 2 tablespoons granulated sugar
5 eggs, separated
¼ cup almond meal/flour
¼ cup unsweetened cocoa
1/8 teaspoon cream of tartar
The Glaze
1 ½ cup semi-sweet chocolate chips (about 9 oz)
¾ cup salted butter, room temperature
1 ½ tablespoons light corn syrup
The Detailed Guide
Start by heating the hazelnuts in the oven at 350° for about 5 minutes. They should be fragrant. If they aren’t, put them in for another 2 minutes. While still warm, place them in a kitchen towel and remove the skins. It’s not necessary to remove 100% of the skins, just do your best. Take the nicest looking 12 and set them apart for decorating.
Then, melt the butter and chocolate chips together.
I used the stove (melting the butter first and then adding the chocolate chips), but the microwave works just fine.
Meanwhile, using a food processor, finely chop the hazelnuts. Add in the 2/3 cups sugar once the hazelnuts are in tiny pieces and give it a couple more pulses to combine. Add this to your warm and melted chocolate and give it a good stir. Let it cool (a few minutes) by transferring it to a larger bowl (you’ll be adding more ingredients later anyway, and you’ll need the space).
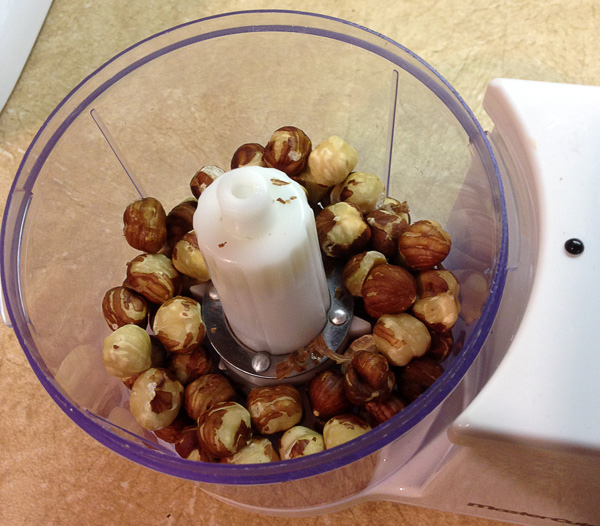
Caution: These babies smell JUST TOO GOOD!

Finely chop these. You don’t want any large chunks!
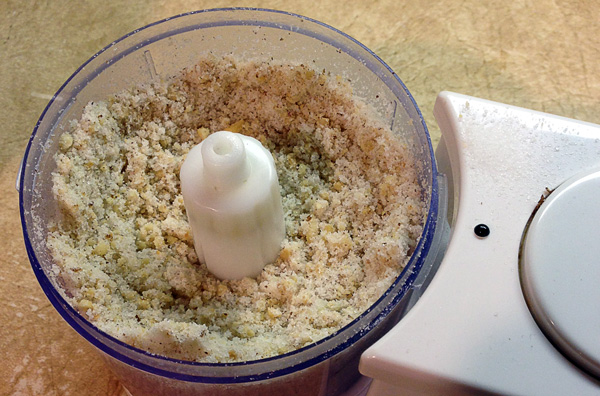
Add the sugar and pulse a few more times to combine and get rid of any large chunks.
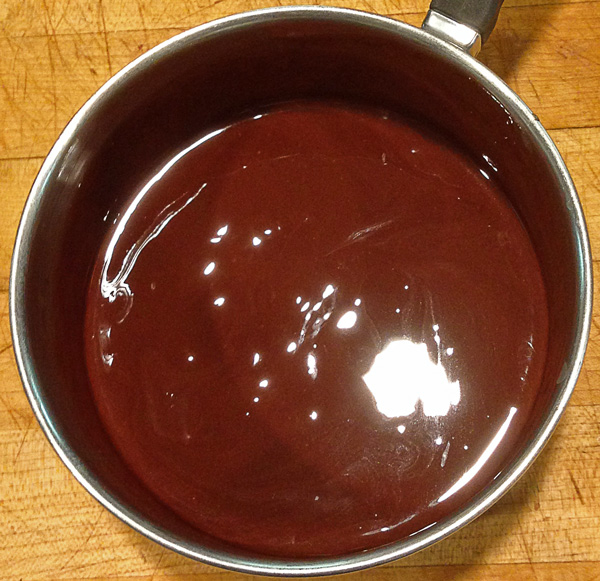
Smooth and velvety chocolate. Go ahead and have a taste. You’ve earned it.
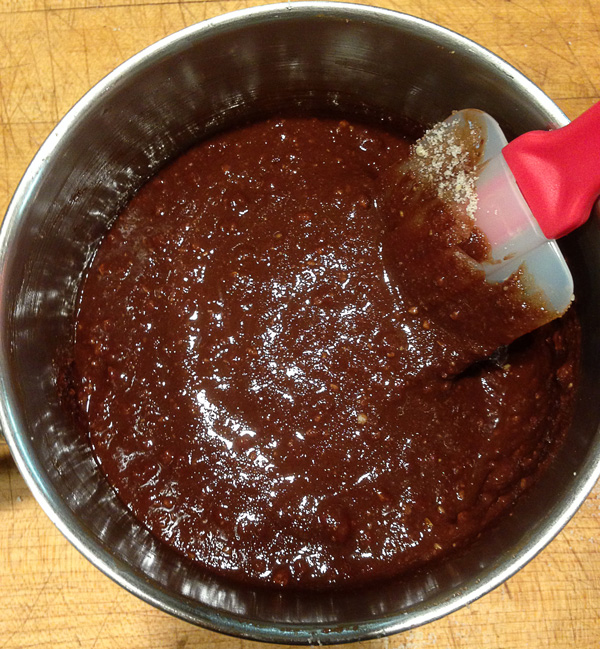
This is the step that marries the hazelnut with the chocolate.
Now that your chocolate is cooled (not hardened, but cooled), add in the egg yolks one at a time, beating well after each addition.
In a small bowl, combine the almond flour and cocoa with a fork (making sure that there are not any large clumps- almond flour can get a little clumpy). Add to the chocolate mixture thoroughly, making sure to scrap the sides. The mixture should be a thick batter- similar to brownie mix.

Almond meal can be made by you or just bought in the store. Store bought is just fine 😉
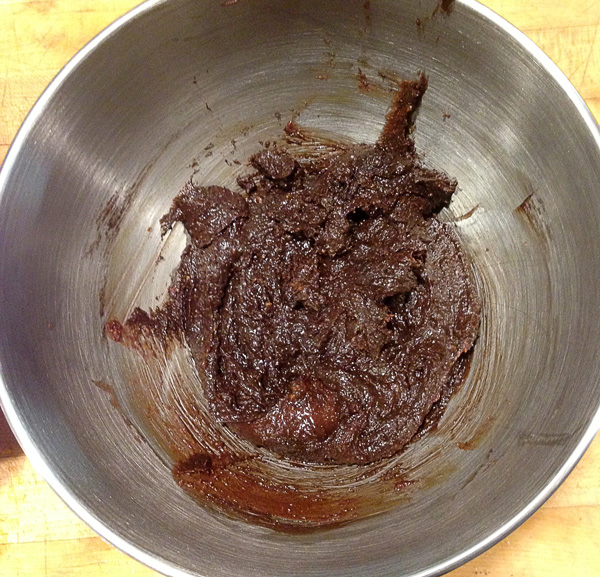
It’s going to be very thick and very dense. Don’t worry. We’ll lighten it in a bit.
In a separate bowl, combine the egg whites and the cream of tartar and whisk (or blend with an electric mixture with a whisk attachment) until a weak soft peaks. Add the 2 tablespoons of sugar and whisk until stiff peaks.
Note that when you add the 2 tablespoons of sugar, try to sprinkle it on, rather than just drop it on. This will cause less breaking of our air bubbles that we just created.
Once done, fold 1/4 of the stiff peaks into the chocolate mixture. Then, fold in the entire rest of the mixture.
Pour into a 9-inch rough springform cake pan that is lined with parchment paper and sided with baking spray. Put in the oven at 350° for 35-40 minutes, or until it passes the toothpick test (almost clean). I’ve had problems with springform pans leaking on me in the past. So I always put an empty tray underneath my springform to catch any potential droppings.
Cool in the pan on a wire rack, then transfer just to a wire rack.

Stiff peaks by hand doesn’t take much longer, plus you’ll burn those extra calories for when you have another slice of your torte!
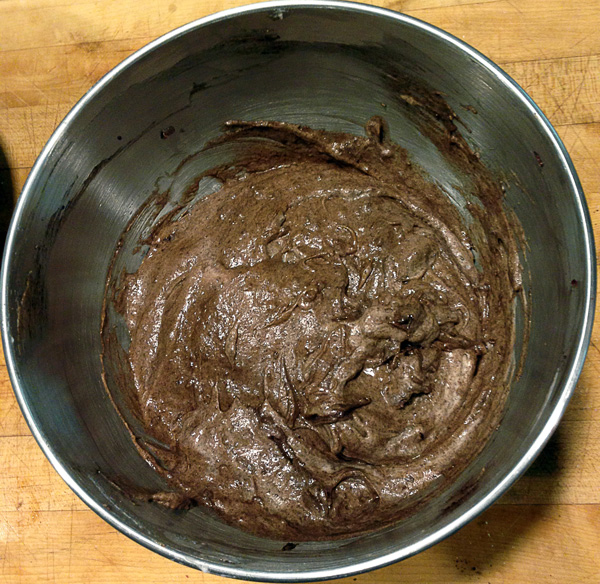
Our batter is much, MUCH lighter now right?
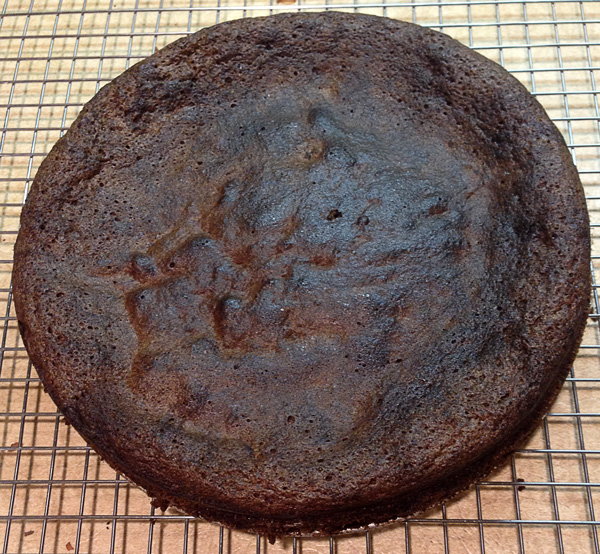
Don’t forget to flip this baby over before you coat it in chocolate!!
The glaze is a cinch. Melt the butter and chocolate together (in a pan or microwave). Then, add in the corn syrup. It’s the corn syrup that gives us a nice shiny glaze, so you can opt out for that if you want. Let it cool ever so slightly before flipping over the cake layer and pouring our chocolate over it. Make sure to get all the sides. Add those final hazelnuts for decorating and pop this baby in the refrigerator for cooling.
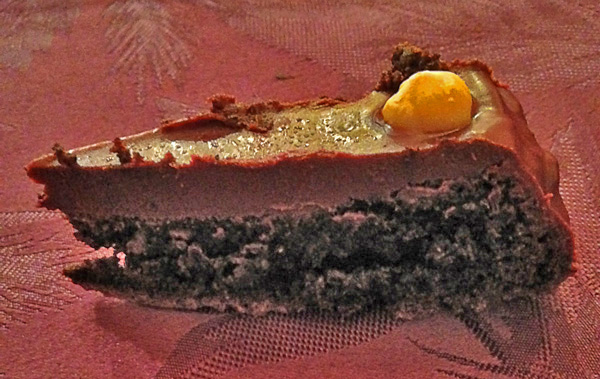
Enjoy with a large glass of cold milk. You’ll need it.
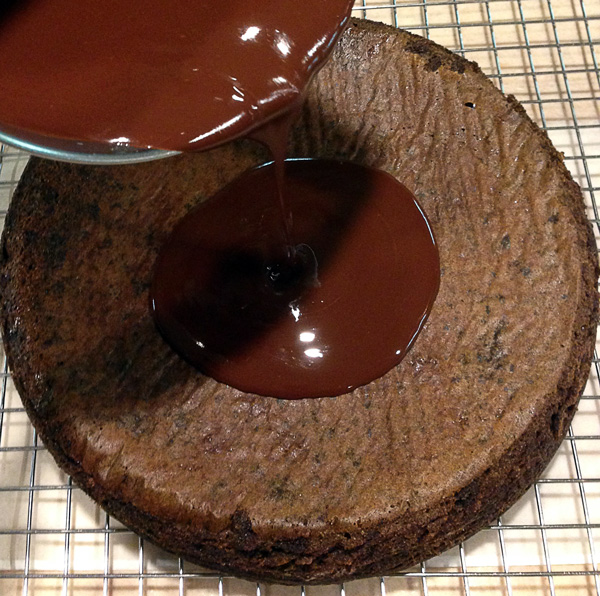
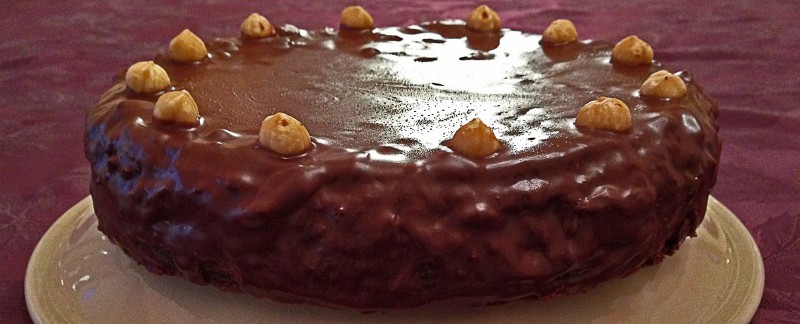
Smother this baby in chocolate. Cover the top. Cover the sides. USE. IT. ALL.
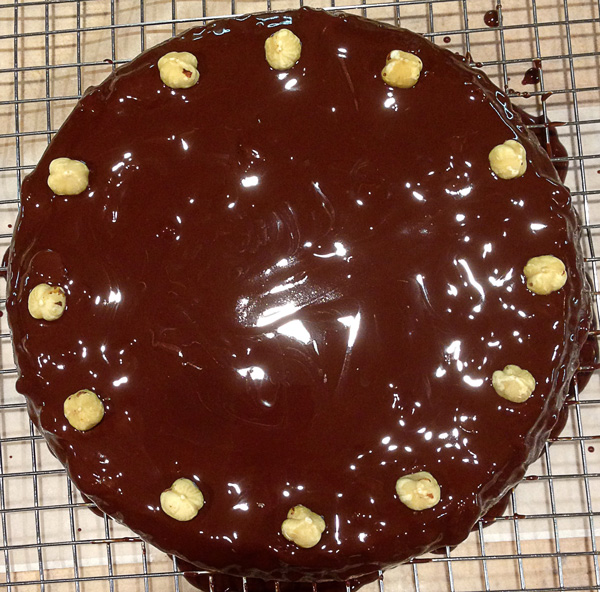
You can decorate as you see fit, but I went with a classic and simple look.
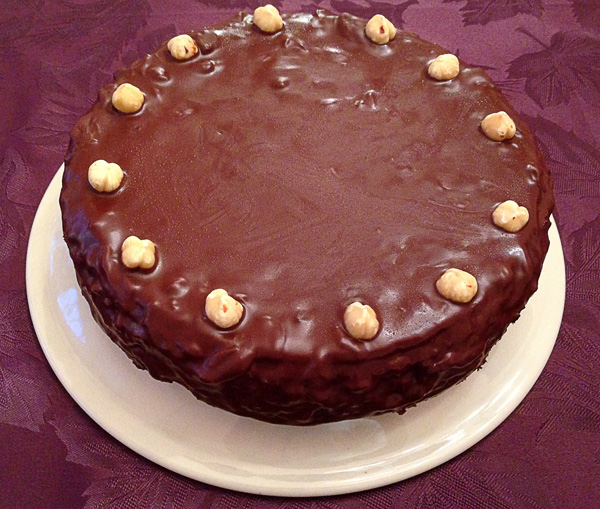
It’s a solid cake, and so you’ll be able to pick it up and handle it quite easily.
Gluten free people, welcome back to Dessert Land.
Shut up and just GIVE ME THE RECIPE!!
Ingredients
The Torte
½ cup whole hazelnuts (plus 12 for decoration)
1 cup semi-sweet chocolate chips (about 6 oz)
½ cup salted butter, room temperature
2/3 cup, plus 2 tablespoons granulated sugar
5 eggs, separated
¼ cup almond meal/flour
¼ cup unsweetened cocoa
1/8 teaspoon cream of tartar
The Glaze
1 ½ cup semi-sweet chocolate chips (about 9 oz)
¾ cup salted butter, room temperature
1 ½ tablespoons light corn syrup
Make It
Start by heating the hazelnuts in the oven at 350° for about 5-7 minutes, until fragrant. Take the nicest looking 12 and set them apart for decorating. Then, melt the butter and chocolate chips together. Meanwhile, using a food processor, finely chop the hazelnuts. Add in the 2/3 cups sugar and give it a couple more pulses to combine. Add this to your warm and melted chocolate and give it a good stir. Transfer to a larger bowl and let it cool. Add in the egg yolks one at a time, beating well after each addition.
In a small bowl, combine the almond flour and cocoa. Add to the chocolate mixture. In a separate bowl, combine the egg whites and the cream of tartar and whisk until a weak soft peaks. Add the 2 tablespoons of sugar and whisk until stiff peaks. Once done, fold 1/4 of the stiff peaks into the chocolate mixture. Then, fold in the entire rest of the mixture.
Pour into a 9-inch rough springform cake pan that is lined with parchment paper and sided with baking spray. Put in the oven at 350° for 35-40 minutes, or until it passes the toothpick test (almost clean). Cool in the pan on a wire rack, then transfer just to a wire rack.
Melt the butter and chocolate together. Add in the corn syrup. Let it cool ever so slightly before flipping over the cake layer and pouring your chocolate over it. Make sure to get all the sides. Add those final hazelnuts for decorating and pop this baby in the refrigerator for cooling.
Enjoy with a large glass of cold milk. You’ll need it.