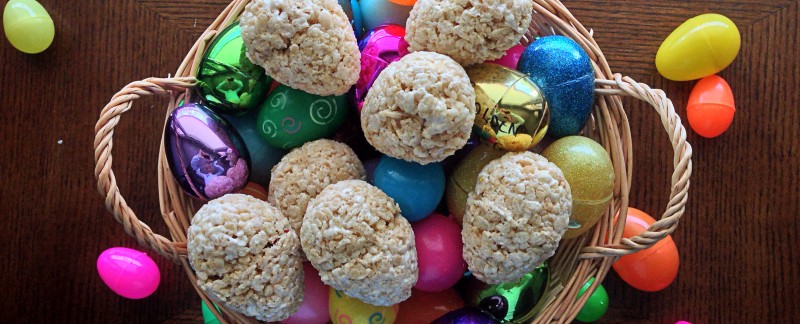
On the hunt for a new, quick, and fun Easter dessert? Look no further than these! With a few ingredients, and just as few steps, you’ll be making these in no time. And the best part? They are so easy that the kids can help too.
The Story
It’s Easter. It’s the holiday of eggs.
Easter Egg Hunts are my absolute favorite activity (Yes, I still look forward to them. Please don’t judge me…). And my mom makes the best Hard-boiled Eggs and Cream Sauce for breakfast (If you’ve never had it before, cancel plans for tomorrow morning and make it. You can thank me later).
But it’s the holidays, and to me, there’s something special about Easter that brings the young and the old to work together. I always remember working with my mom and my aunt and my sister to make “The Bunny Cake”. You know the one. It’s 2 circle pan cakes cut so you have a bunny with ears and a bowtie. And you decorate him/her however you feel – candies, chocolates, icing, etc. Making the cake was better than actually eating it.
So for this dessert, I wanted something easy to make that was fun to make, the kids could help with, and allowed for lots of areas for creativity.
These are regular ‘ol Rice Krispie Treats that are shaped like eggs. The trick is making them hollow on the inside (a not-so-hard-to-do trick), and then you can put whatever you want inside them- mini M&Ms, sprinkles, marshmallows, mini chocolate chips, etc. And you can decorate them however you feel.
Ingredients
1/4 cup (1/2 stick) salted butter
5 cups mini marshmallows (not quite the entire bag)
6 cups Rice Krispie cereal
Candies, Sprinkles, etc. for filling
Non-Stick Spray
Large plastic Easter Eggs (at least 2, but the more, the merrier)
The Detailed Guide
The Treats
In a medium sauce pan, melt the butter on the stove on low heat. Meanwhile, have your Rice Krispies in a large bowl.
Then, add in your marshmallows, stirring so that all the marshmallows are covered in the butter with a rubber spatula.
Stir frequently (but not constantly) until all your marshmallows are melted, and you have nice gooey marshmallow.
By melting the butter first, you’re coating the pot in butter and all its non-stick properties. This makes cleanup so sooooo much easier. Also, this is great for the kids to get involved in. They’ll love that you’re baking with marshmallows, and it’s great practicing coordination skills.
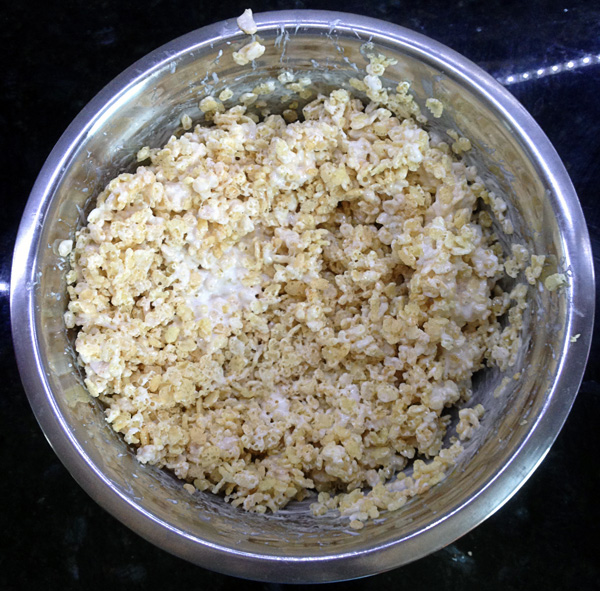
Once melted, pour the marshmallow over the Rice Krispies and thoroughly mix with that rubber spatula. I advise against mixing this with your hands since the marshmallow is HOT and STICKY.
Once it’s mixed throughout, it should be cool enough to play with your hands and make the egg shapes.
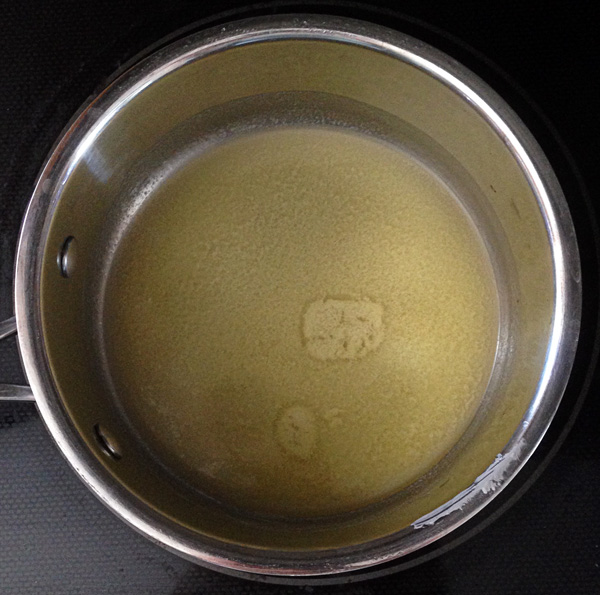
Melting the butter first will make sure we have less sticking!
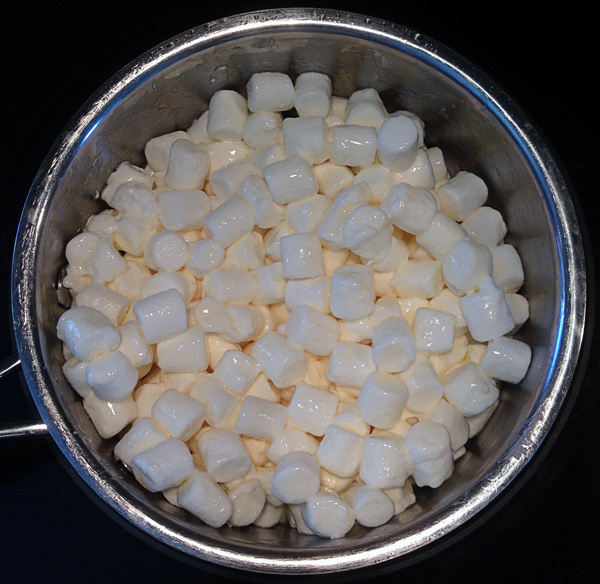
Coat the marshmallows and let them melt.
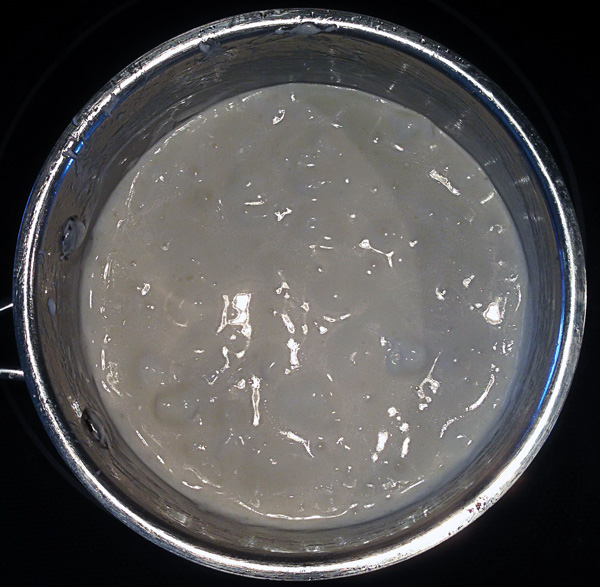
All melted and ready to go
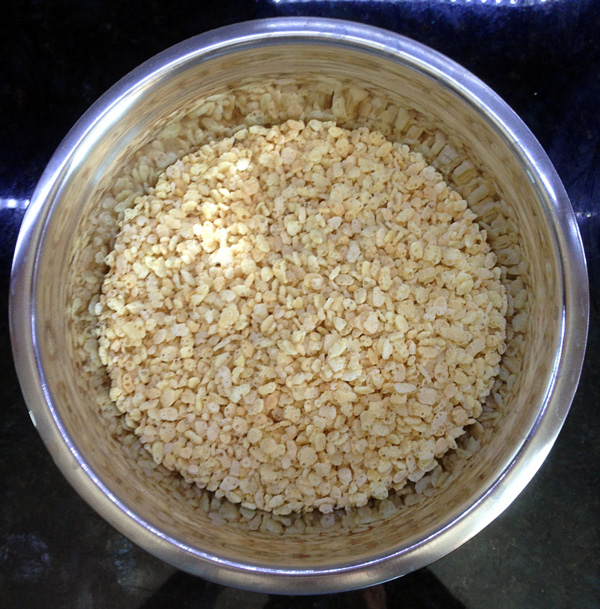
Rice Krispies dream of becoming treats when they grow up
I’ll admit it. I ate about an 8th of this while making my eggs.
Making the Eggs
Get a few of those large Easter eggs ready and spray them just a little with nonstick spray. You’re going to want to use the large ones and not the medium ones. Why? Because we’re going to fill the INSIDE of these, not the OUTSIDE. This means that our finish product will be the size of the medium eggs- a perfect size.
Also, go ahead and spray your fingers with the nonstick spray too. And the kids’. (Notice the apostrophe. That means you spray your kids’ hands. Not your entire child 🙂 )
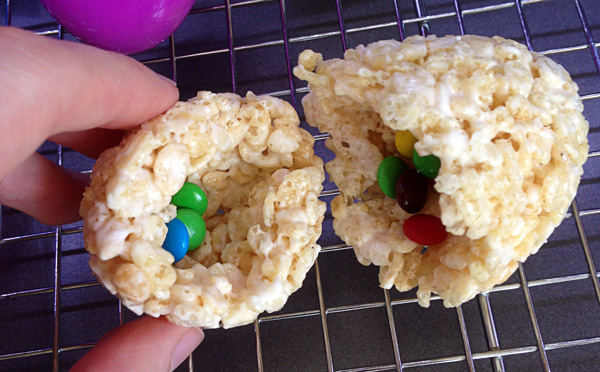
Grab a bit of the rice krispie mixture with your hands and shove it in the eggs, forming the rice krispies around the inside the 1 half of the egg. I found it best to use your thumb for this. Press with firm, but not excessive pressure, until you’ve got a hollow egg. Now do the same with the 2nd half.
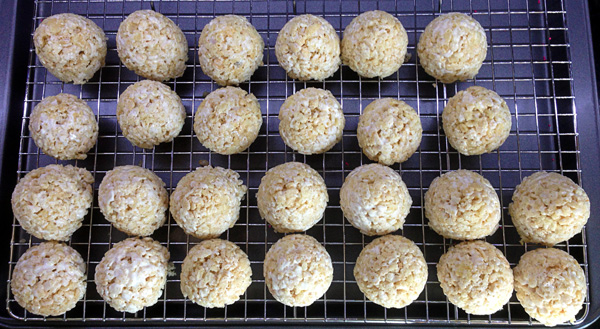
Go ahead and let the rice krispie sit inside the eggs for a few minutes to harden slightly while you do a few more eggs. Then, carefully remove the rice krispies halves out of shells and let harden a little more face down on a wire wrack.
Once ready, take the bigger (bottom) half, and fill with treats – M&Ms, mini chocolate chips, marshmallows, sprinkles, and anything else you could think of. Then, take the top half and place it on top of the bottom. Press down (again, not too much pressure) to help seal them together. Then, let them cool to harden again. I found a brief period in the fridge did wonders.
Decorate them however you wish- icing, more sprinkles, etc.
Hide them.
Eat them.
🙂
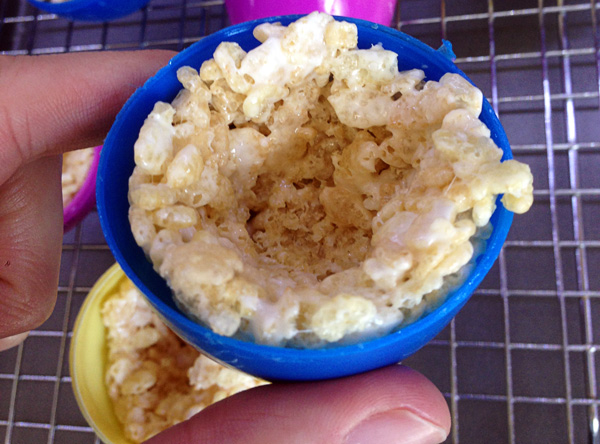
Nonstick spraying your fingers works wonders here
Pairing the top of the egg with the bottom of the egg will save time later.
Press them together lightly but firmly to seal.

A few minutes in the fridge will make sure these stay together for the evening.
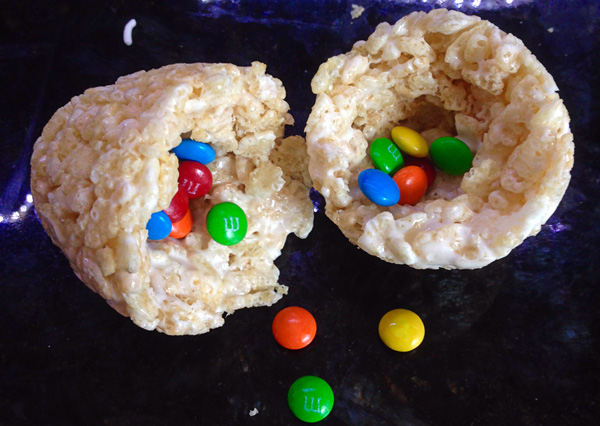
Don’t forget to put treats inside!

Whatever treats you want!

Your options are endless!

Delivery straight from Mr. Rabbit Himself!
Shut up and just GIVE ME THE RECIPE!!
Ingredients
1/4 cup (1/2 stick) salted butter
5 cups mini marshmallows (not quite the entire bag)
6 cups Rice Krispie cereal
Candies, Sprinkles, etc. for filling
Non-Stick Spray
Large plastic Easter Eggs (at least 2, but the more, the merrier)
Make it
The Treats
In a medium sauce pan, melt the butter on the stove on low heat. Meanwhile, have your Rice Krispies in a large bowl.
Then, add in your marshmallows, stirring so that all the marshmallows are covered in the butter with a rubber spatula. Stir frequently (but not constantly) until all your marshmallows are melted.
Once melted, pour the marshmallow over the Rice Krispies and thoroughly mix with that rubber spatula.
Making the Eggs
Spray your Easter eggs with nonstick spray. Spray a little of your fingers too.
Grab a bit of the rice krispie mixture with your hands and shove it in the eggs, forming the rice krispies around the inside the 1 half of the egg. Press with firm, but not excessive pressure, until you’ve got a hollow egg. Now do the same with the 2nd half.
Let the rice krispie sit inside the eggs for a few minutes to harden slightly while you do a few more eggs. Then, carefully remove the rice krispies halves out of shells and let harden a little more face down on a wire wrack.
Once ready, take the bigger (bottom) half, and fill with treats – M&Ms, mini chocolate chips, marshmallows, sprinkles, and anything else you could think of. Then, take the top half and place it on top of the bottom. Press down (again, not too much pressure) to help seal them together. Then, let them cool to harden again. I found a brief period in the fridge did wonders.
Decorate them however you wish- icing, more sprinkles, etc.
Hide them.
Eat them.
🙂
Marky. Dude. These are brilliant!!
Absolute genius. 👌🏼 Your pal Sam in NOLA.